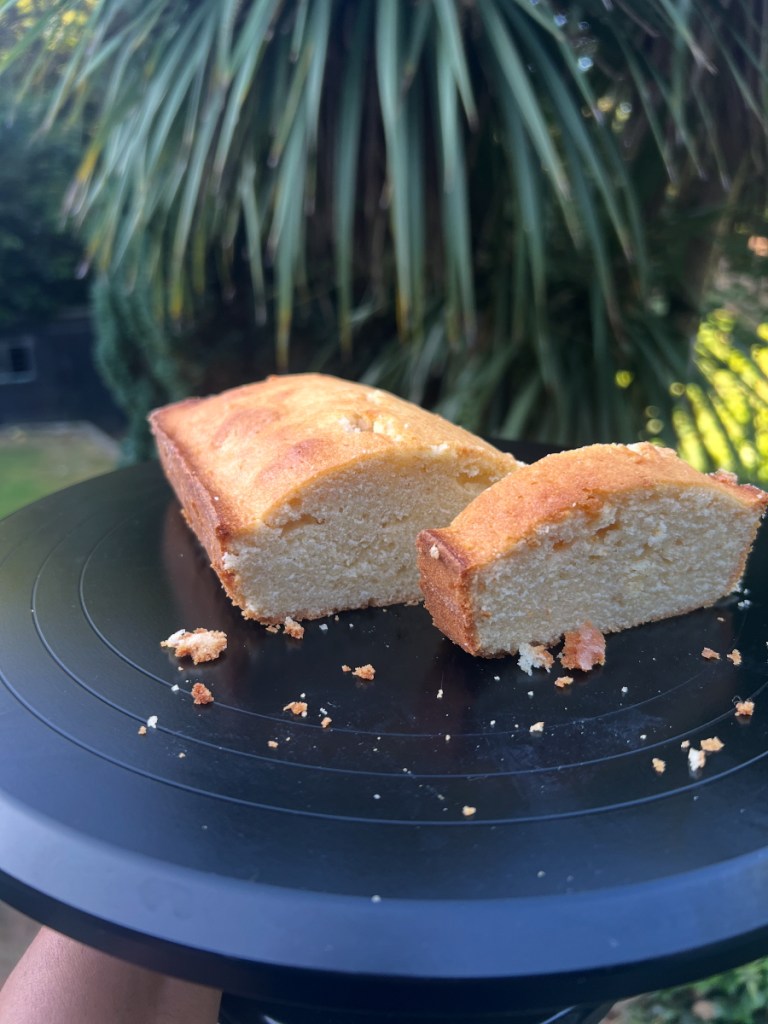
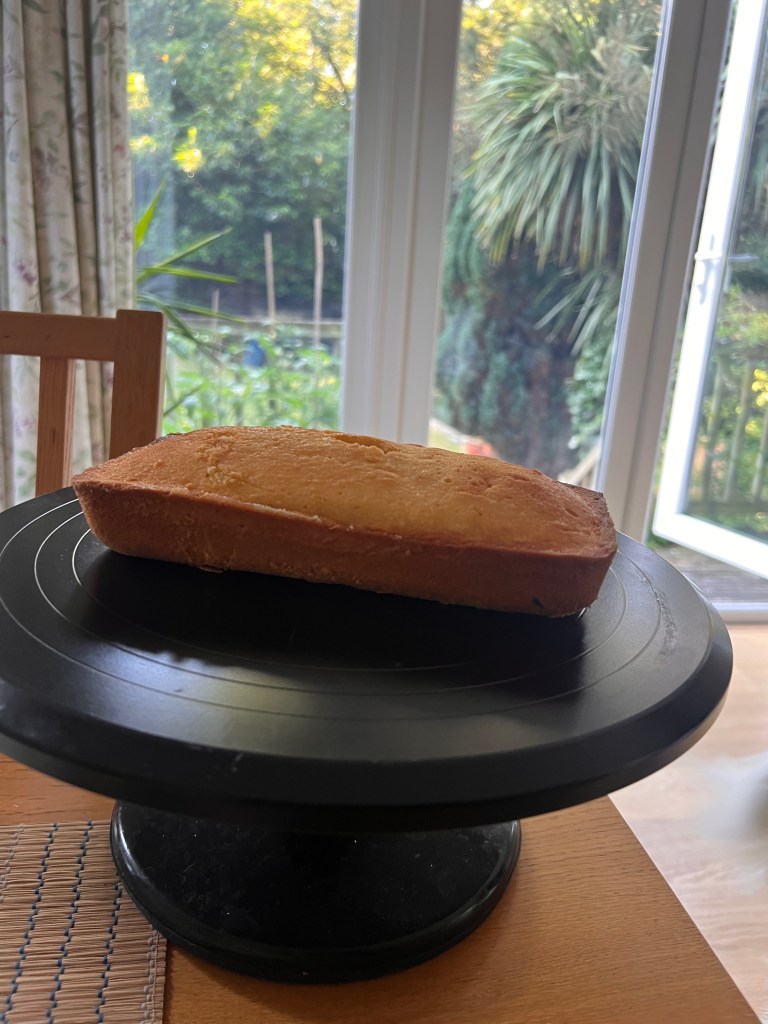
For K’s birthday, I made a cake with all things he likes – vanilla, extremely important; ghee and lots of it, a little different from the usual butter; a single flavour sponge that is simple, elegant and without too much sweetness. And a Mangalore ghee cake which I had been wanting to try for a long time now fitted this perfectly. I also wanted to bake him something different from the usual favourites I make for him: carrot cake without frosting, Victorian sponge with frosting ofcourse or a coffee cake (we love Anita’s @a_madteaparty coffee cake a lot!) and this turned out lovely – spongy, not too sweet at all and can definitely tell the ghee.
I followed Jason’s recipe, just used lesser egg. I have never had a Mangalore ghee cake so I will wait to try one before saying how alike they taste but I loved this version and texture and even Ishoo who rarely eats cakes or sweets, liked this enough to eat two small slices. Also equally important when baking birthday cakes is they HAVE to be Mili friendly. She is the first to appear for cake cutting anyway, even before the cake is rested on the table. To top it all, this cake matched what Ishoo wanted for his papa – a brown, white, vanleela cake!
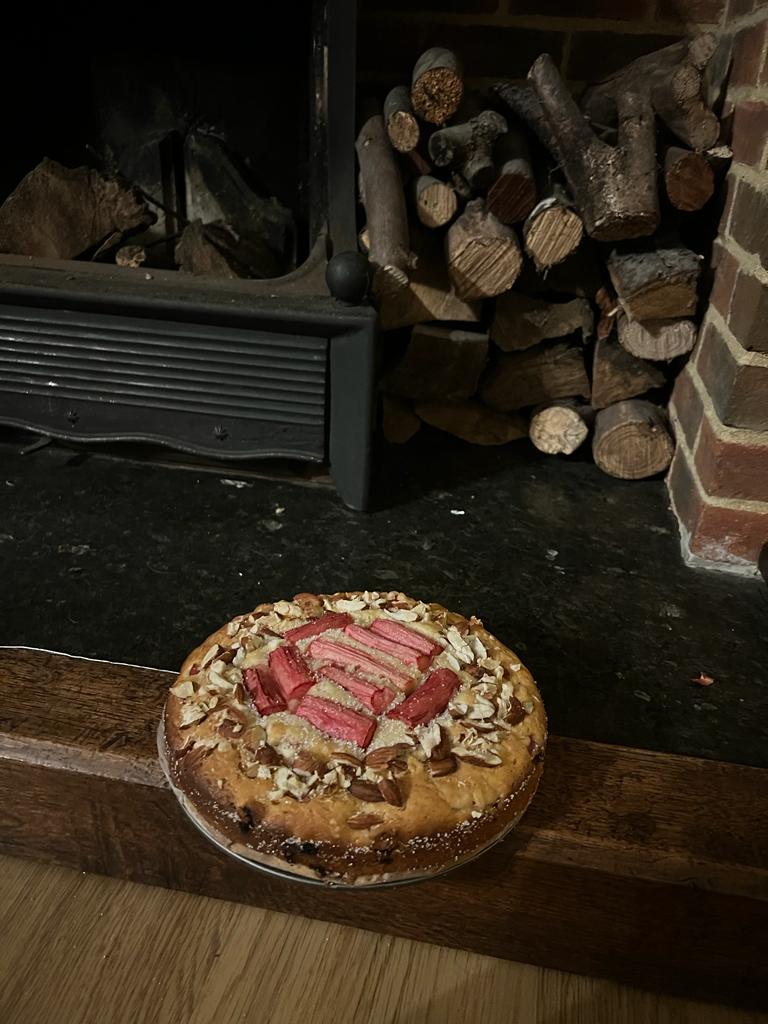
I am writing this from my couch, having taken a fair share of bites of this delectable and moist rhubarb and almond cake spiced with cardamom and subtly flavoured with vanilla extract. I love it. It reminds me of something, these flavours and the aroma. Does it smell like my kitchen after having made gulab jamun dunked in a syrup laced with cardamom? Or, does it smell like when I open a box of karachi biscuits? Or is it, the way the house smells when ma makes payasam on festivals? The slightly crusty edge along the top layer in all its toasted almond nuttiness with the vanilla and cardamom surely feels like a good day biscuit in flavour? The rhubarb is tarte and moist and blends so well with the cake. I have mixed some in the batter and some on top, like @florashedden did with hers. It is a brilliant method and I have only switched the hazelnuts for almonds, reduced the sugar, added in cardamom and done away with the sesame seeds. I halved it as well as am baking just for one. It has been a couple of years since I baked for one, especially with that one being myself. And this right here, on a sunday night, feels good and just the kind of high I need for the week.
Now, in my absolute desperation to nail what this reminds me of, I have eaten a generous portion of the cake. I can’t have the cake and know what it tastes like too, right?
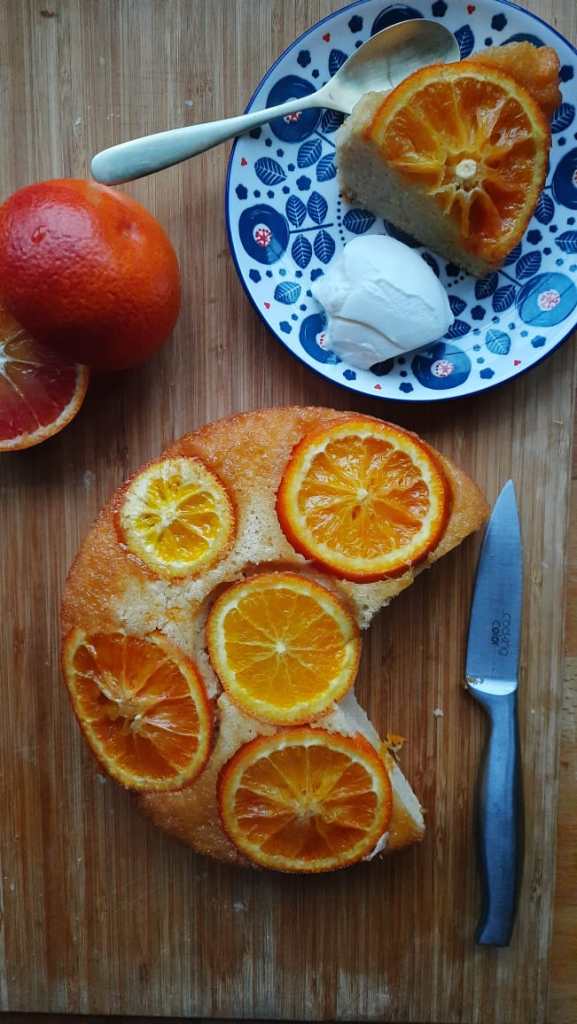
A couple of weeks ago, I chanced upon beautiful Ippolito oranges in my local supermarket @waitrose . These were my first ippolitos and I loved how they blushed from atop the shelf amidst the satsumas and clementines. While we enjoyed juicing two of them, I really wanted to bake a single flavour orange cake and found a couple of ideas on the net. This orange almond flour cake is adapted and slightly tweaked from Louise’ idea@nordickitchenstories to create something K and I would enjoy which meant keeping it less sweet and slightly altering the proportions of almond flour and all purpose flour (APF). The cake calls for making an orange caramel glaze (highly recommend you to not skip this ofcourse). I love that the peel of these oranges were ever so slightly bitter and lent such a beautiful flavour and taste to the cake – the sweetness of the glaze and the slight bitterness of the slices with the peels on and that texture! The almond flour being finer than almond meal but coarser than flour makes for a lovely texture – while we enjoy a luscious moist cake, we love trying different textures and ingredients in the cake base and this is a good tip that you can try with other flavours – am thinking coconut , vanilla or another citrus like lemon ! This recipe uses almond flour which is finer and this was blanched (no skin) so if you do substitute with coarse almond meal, there is a risk that the cake may not rise or hold together since the particles are coarser. We enjoyed ours with Greek yogurt but you can do cream fraiche too! I love inverting my cake tin and uncovering the pattern of an upside down cake. I have baked a few but there is always a nervous excitement as I peel away the parchment paper – it is a pattern I have come to love finding, a pattern of baking I have come to love.
Ingredients for the cake: 2 big juicy blood oranges/ sweet juicy oranges 100-120 gm caster sugar 1 tsp baking powder 100 gm almond flour 80 gm plain flour 3 eggs 50 gm butter – melted Some finely minced ginger – about 1.5 tsp
Ingredients for the orange caramel glaze: 100 gm caster sugar 1 big blood orange
Making the orange caramel glaze: 1. Heat 100 gm of golden caster sugar in a pan until it starts becoming brown and gooey and smells caramelly. Take care to give it a mix as it melts so that it doesn’t burn. 2. Once the sugar is all melted and it is a brown thick liquid, add the juice of an orange – this will be spurt so be careful. The melted sugar will set as one big caramel lump now – so just keep mixing and breaking that lump on medium heat until it dissolves. If a small lump is left just take it out and enjoy the candy.
Baking the rest of the cake: 1. Preheat oven to 160C. 2. Peel two oranges and cook in hot water for about 15-20 mins until it is soft. Chop it into mushy chunks and keep aside. 3. Line the based of a baking tin with parchment paper and grease the sides with butter or oil. 4. Slice one of the oranges (With the peel, if blood orange, the peel is less bitter) into 2-3 mm slices. Place these slices on the parchment paper on the base of the tin. 5. Pour the glaze on these slices. 6. Now mix all the dry ingredients. Beat the eggs with sugar until thick, light and fluffy and fold the dry ingredients with the melted butter, orange pulp with the egg sugar mix. 7. Pour the batter on top of the oranges and bake for 35-45 mins at 200C until a toothpick inserted at the centre of the cake comes out clean. Let it cool and enjoy with cream or yoghurt or honey!
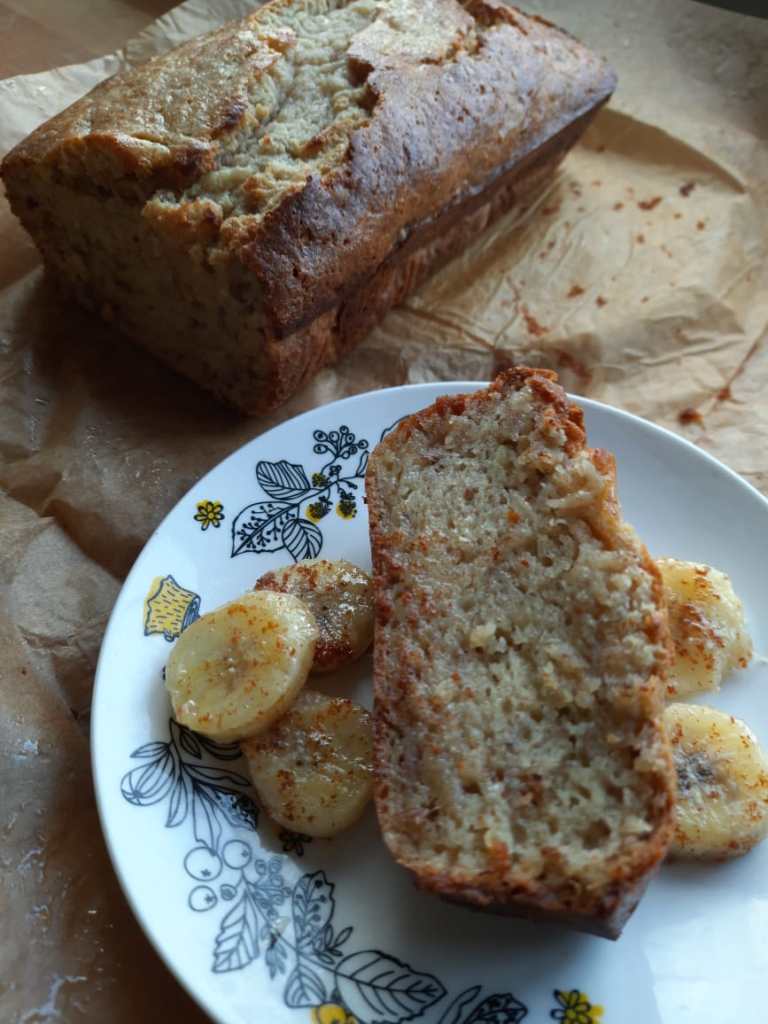
Brown butter banana bread – has quite the zing to it, does it not?
I totally think banana bread deserves a day to be celebrated – in a pandemic, it brought together a nation and people from different corners and there was a camaraderie as people baked and shared and liked each others’ banana bread on the gram and perhaps elsewhere. There are very very few people I know who dislike or don’t care much for it but there is otherwise an ubiquitous love for this extremely endearing bread that doubles as cake and is inviting as a breakfast (when toasted) or as a dessert (perhaps with ice cream?). It is also the most hospitable bread – welcoming chocolate chips with as much gusto as walnuts and dates and well, your pantry is your limit, really! This time, I went for a decadent brown butter banana bread. Having baked a batch of brown butter cookies, I had this sudden brainwave to make banana bread with browned butter and sour cream. If you are looking to make this, here is what you need:
Ingredients:
All purpose flour – 170 gm Baking soda – 1 tsp Salt – 1 tsp Sour cream – 150 ml Browned butter – 100 gm Caster sugar – 60 gm Ripe medium bananas – 4 (reduce a banana if you add 2 eggs) Honey – 30 gm (replace with maple syrup if you want to skip/ don’t have honey) Maple syrup – 30 gm (replace with honey if you don’t have maple syrup)
A word on sweetness – adjust this to taste. We like it just sweet and nothing too cloying. Also, the bananas were quite sweet themselves, so play with sweetness according to your preference.
Method:
1. Mix 170gm flour, 1 tsp baking soda and 1 tsp salt in one bowl. 2. In another bowl, mix 150 ml sour cream, 100 gm browned butter, 60 gm of caster sugar, 4 mashed ripe medium bananas (reduce by 1 if you add 2 eggs), 30 gm honey, 30 ml maple syrup. Taste the sweetness as you add the sweeteners (t must be pretty sweet at this point as you will add this to the flour). 3. Now fold the dry flour mix into this without over mixing it. Bake until the insides are cooked and a toothpick comes out clean. 4.Let it cool while walk around frantically waiting to dig in and then waste absolutely no time !
Do not worry if it appears a bit dense the next day, just toast it or warm it for 20 seconds in the microwave and it will be delish. Add anything you fancy but just bear in mind the sweetness and it is simple because in the eggless version, you can taste the batter as you go. I would love to try it with jaggery and coconut and make it a rasayana-bread.
You know how they bake cookies during house shows to make it smell warm and inviting? I would totally bake a banana bread 🙂
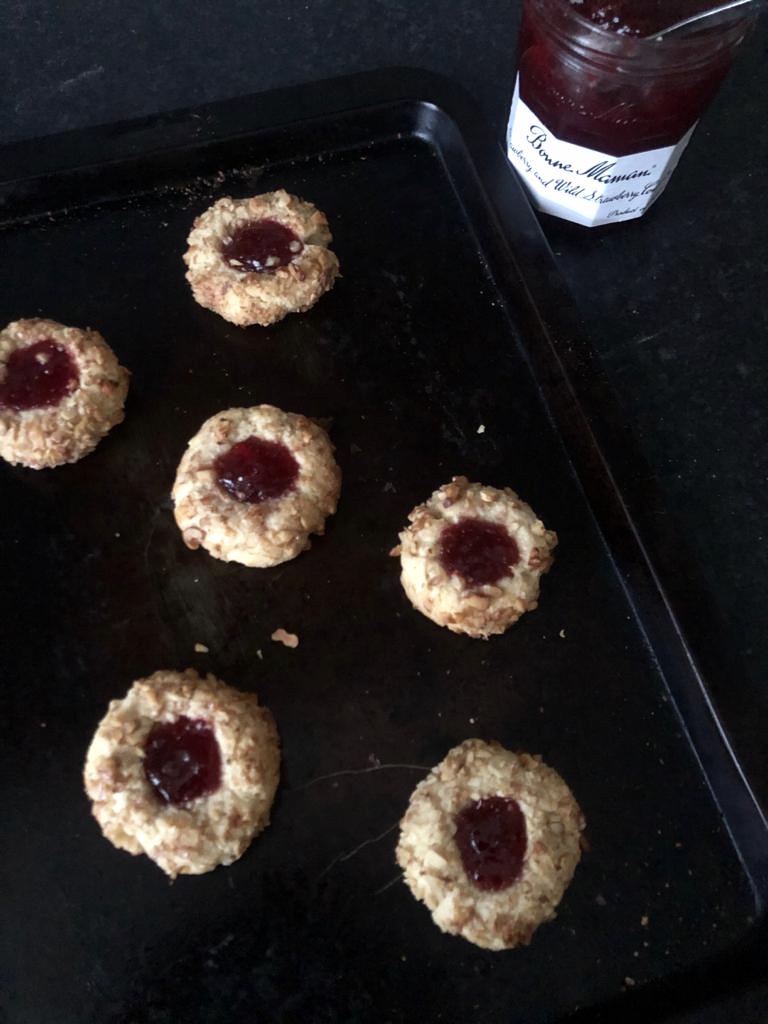
One evening, K and I got talking about jim-jam cookies – the cream sandwiched biscuits with the most alluring jujube on top? And then we had a hankering for jam cookies. That is it – that is the story behind how these happened in my kitchen. Jam thumbprint cookies that have the crumbliness of a nankhatai (or beNNe (butter) biscuit as we call them in Kannada), rolled in walnutty goodness and a good dollop of strawberry jam. As we waited quite impatiently for the cookies to cool a bit, I remember how it started getting dark outside and then we took the tray up to the living room and enjoyed them in that fading daylight with all the silence in the world. I remember our hurried steps and followed by that complete silence as these cookies melted in our mouth. It may seem like such a random and eventless recollection but this scene and how it made us feel is etched in my happy memories so much like the thumb print cookies themselves.
You need:
180g butter, softened at room temperature
80-90g caster sugar – go up to 110 g if you like them sweeter.
1 large egg/ 2 small eggs with yolks and white separated.
1 tsp of vanilla extract
220g plain flour
Jam of any flavour of your choice.
(Optional) Crushed nuts of your choice to roll your cookie in – I used walnuts
Method:
Preheat the oven to 180 C.
In a bowl, beat the 180 g butter (high speed if you have speed settings) until creamy – I used a hand held mixer with a paddle attachment but you can do this in a stand mixer too.
Now add sugar (80-90 g), egg yolk(1 large/ 2 small) and vanilla extract (1 tsp) and beat together until it has all combined well.
Now add the flour (220 g), a little at a time and mix in. You can used a hand mixer/ stand mixer (use a really slow speed setting if you do) but I just used a spatula and gently combined it together – do not overwork the dough. If you overwork the dough by mixing it too much or kneading it a lot, the biscuits become hard. So really, just bringing it all together into one mass should be good.
At this stage, if your dough is slightly on the wetter side, then do refrigerate it for 30 mins to 1 hour. Mine was alright but I chose to refrigerate it for 30 minutes. I like to refrigerate my cookie dough – they reduce the spread of the cookie. You don’t need to do it for all cookies and you can omit it for this cookie as well. It is just a comforting step for me, I guess.
Line a baking sheet/tray with parchment paper and slightly grease it with any neutral oil.
Make small lemon sized balls of the cookie dough with your hand (gently rolling).
If you are using the nuts, beat the egg white until foamy. Slightly dip these cookie dough balls in the egg white and roll them in the crushed nuts and place them at least 2 inches apart on the baking sheet. The egg white acts as a binding agent to keep the nuts on. So if you skip the nuts, then just make lemon-sized balls fo the cookie dough and place them 2 inches apart on the baking sheet.
Now for the fun part – gently press the cookie so that you have a dent in the centre – make it as big or as small as you’d like depending on how much jam you would like in it.
Fill the dent with a jam of your choice and voila! They are ready to go into your pre-heated oven.
Bake for 8-11 minutes or until the nuts start browning slightly.
Notes for notes:
You could probably substitute with other flours/ almond meal, I haven’t tried that yet.
I have tried these with another filling that I will share soon as well – but really just go wild with what you would like.
Please watch the oven as these bake – they do turn around in a very short time so unless you are really sure of your oven and how it works, I’d recommend watching over them.
I always like to use the middle rack as that works best for me – but I understand that may not always be the case with different ovens. Just a tip.
You can drizzle sugar/ glaze these as well – we love them as is 🙂